

Introduction
Have you ever wondered how gourmet restaurants manage to make even the simplest meals look like works of art? What if I told you that creating a stunning, restaurant-quality meal is not only possible but also easy and fun right at home? Today, we’re diving into the world of paper lunch box charcuterie 1, where elegance meets convenience. This isn’t just about packing a sandwich; it’s about crafting an experience.
Table of Contents
Overview
So, what makes this recipe so special? Paper lunch box charcuterie is all about transforming ordinary ingredients into something extraordinary with minimal effort. You can prepare everything in under 30 minutes, making it perfect for busy weekdays or impromptu gatherings. The difficulty level? Beginner-friendly! Whether you’re a seasoned chef or someone who burns toast, this guide will walk you through every step.
Essential Ingredients
To create your masterpiece, gather these key components:
- Bakery Boxes : These serve as the canvas for your culinary creation. They come in various sizes, but a standard 4×4” box works beautifully 1.
- Parchment Paper or Food Safe Tissue Paper : Lining the box ensures no food sticks and keeps things tidy 6.
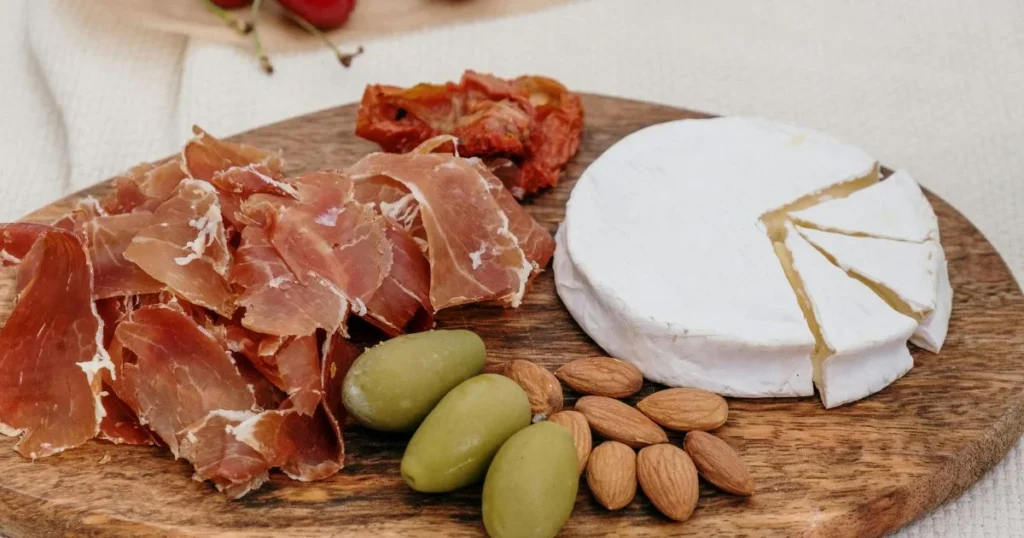
- Cheese Selection : Opt for a mix of textures such as creamy boursin, hard gouda, or soft mozzarella 5. Substitutes include vegan cheeses for dietary restrictions.
- Cured Meats : Salami, prosciutto, and pepperoni add flavor and texture. For vegetarians, consider marinated tofu or tempeh slices.
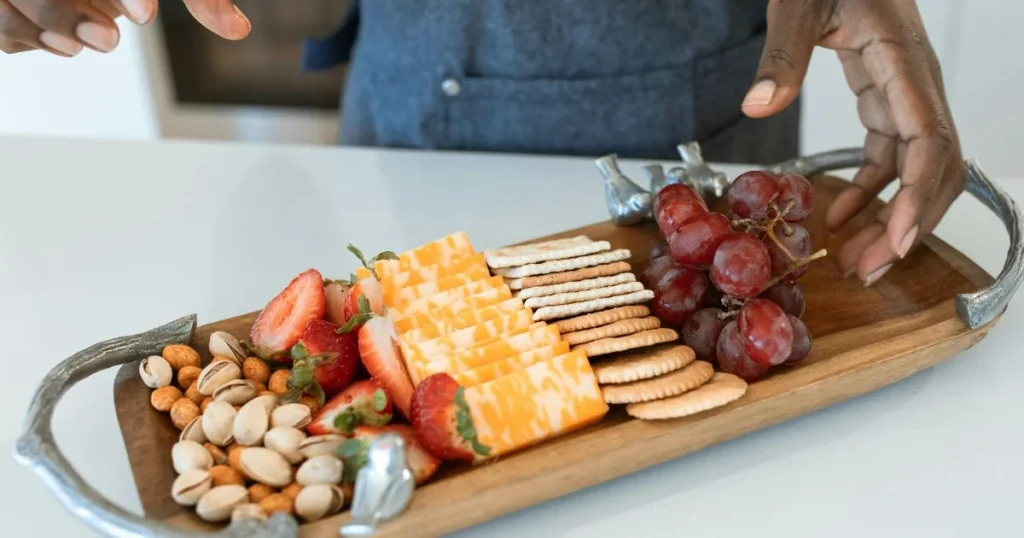
- Crackers and Breadsticks : Provide a base for pairing with meats and cheeses.
- Fruits and Nuts : Fresh grapes, dried apricots, and pistachios bring color and crunch 7.
- Olives and Pickles : Add a salty kick without overwhelming other flavors 3.
Tips:
- Choose items based on personal preference while maintaining a balance between sweet, savory, crunchy, and soft elements.
Step-by-Step Instructions
Let’s get started with our ten simple moves!
- Prepare Your Workspace : Clean and organize your area before beginning assembly 2.
- Assemble Bakery Boxes : If necessary, construct them according to package instructions.
- Line with Paper : Place parchment or tissue paper inside each box to prevent sticking and enhance presentation 4.
- Add Crackers : Start by layering crackers at the bottom since they form the foundation.
- Create Salami Roses : Roll thin slices around a toothpick to form roses, adding visual appeal 1.
- Place Cheeses : Arrange small chunks strategically throughout the box.
- Incorporate Fruits & Nuts : Scatter these generously across empty spaces.
- Insert Skewered Items : Use toothpicks to combine fruits, olives, or mini cheese cubes 7.
- Finish with Extras : Add any final touches like herbs or edible flowers.
- Check Balance : Ensure there’s harmony among tastes and textures.
Cooking Techniques:
No cooking required here! However, ensure all perishable goods are fresh and stored properly until ready to use.
Assembly
Building your paper lunch box charcuterie involves more than just tossing ingredients together—it’s about creating a balanced composition. Begin with larger pieces first, filling gaps with smaller ones. Remember, height adds interest, so stack items thoughtfully. Presentation matters; neat arrangements invite diners to explore further.
Storage and Make-Ahead Tips
Once assembled, cover boxes loosely with plastic wrap or store individually wrapped portions in the refrigerator up to 24 hours ahead of time 8. When reheating, allow contents to sit at room temperature briefly to restore optimal flavor profiles.
Recipe Variations
Feel free to experiment with themes—perhaps Mediterranean-inspired with hummus cups instead of spreads, Asian fusion featuring teriyaki chicken strips alongside edamame, or even kid-friendly versions loaded with colorful veggies and mild cheeses.
Conclusion
There you have it—a delightful way to elevate everyday lunches into something truly memorable. With its quick prep time, endless customization options, and impressive presentation, paper lunch box charcuterie promises satisfaction every single time. So why wait? Grab those supplies and start creating today!
FAQs
Q: Can I prepare this ahead of time? Yes, though best enjoyed freshly made, components may be prepped separately then combined shortly before serving 8.
Q: Are there health benefits associated with eating charcuterie? Absolutely! Incorporating nutrient-rich foods like nuts, seeds, and certain types of cheese contributes positively towards overall wellness when consumed moderately 9.
Q: Will gluten-free alternatives work well? Certainly! Many crackers and breadsticks now cater specifically to gluten-intolerant individuals ensuring everyone enjoys equally delicious results.
Enjoy crafting your own unique paper lunch box charcuteries, knowing full well that creativity knows no bounds once unleashed upon such versatile canvases!