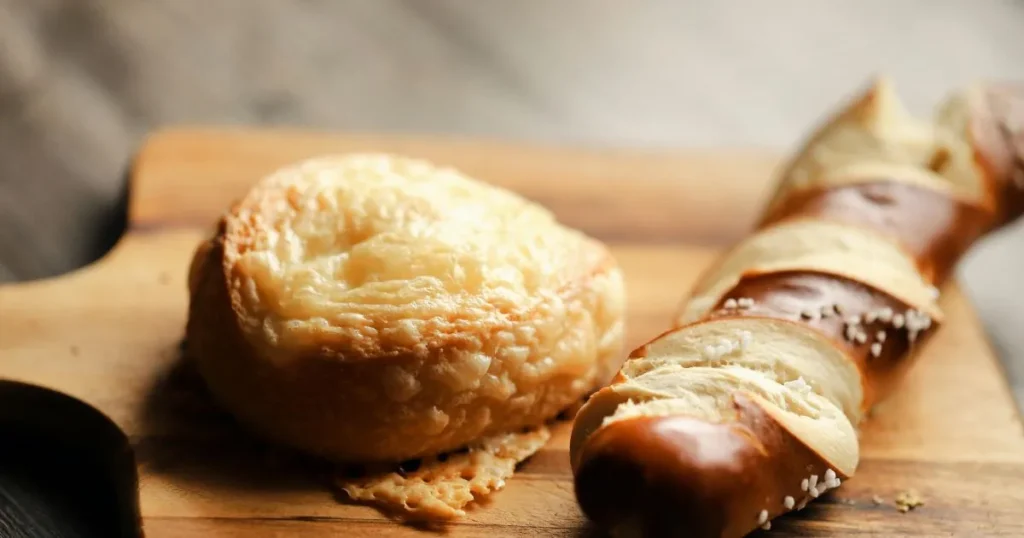
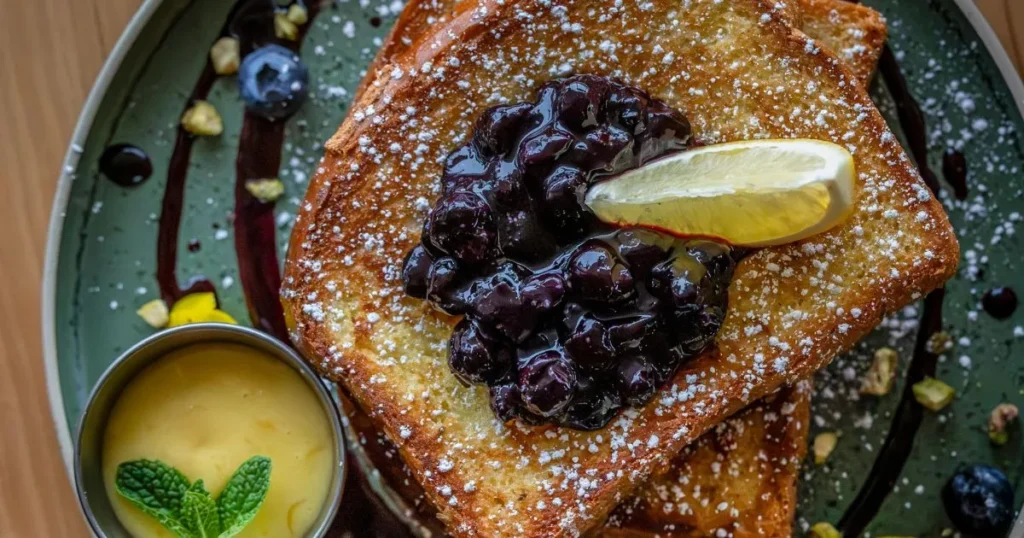
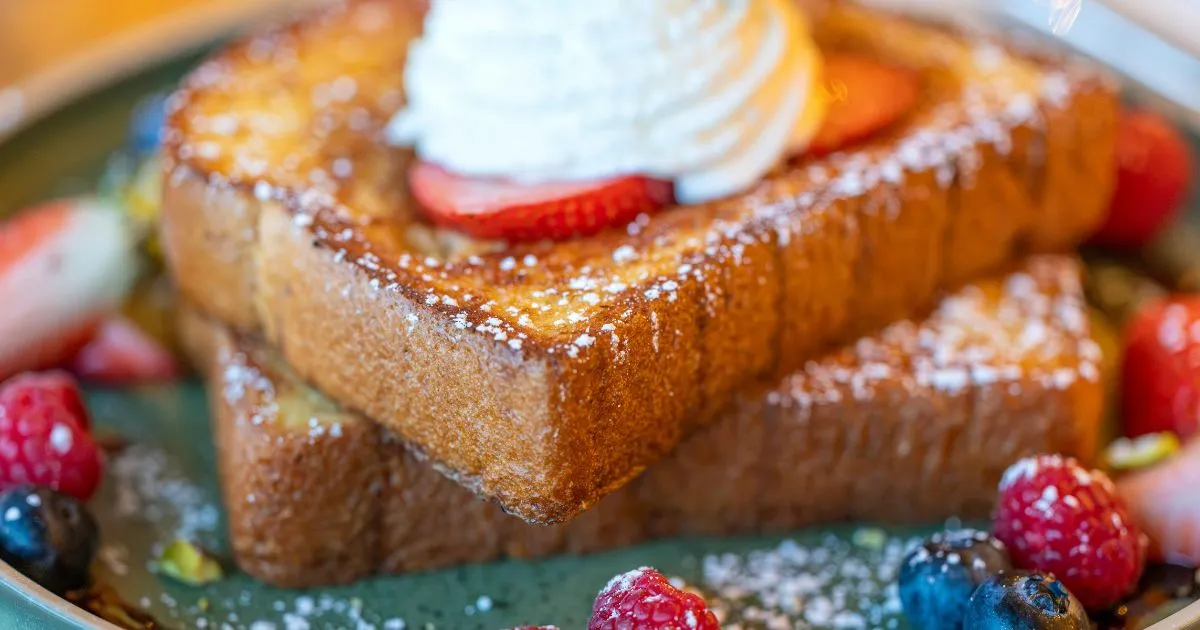
Introduction : Breakfast Pastries
Have you ever wondered why breakfast pastries are so irresistible? Is it the flaky texture, the sweet aroma, or perhaps the perfect balance of flavors that makes them a morning must-have? Whatever it is, there’s something magical about homemade breakfast pastries that store-bought ones just can’t match. Today, we’re going to uncover the secrets behind making five of the most delicious and flaky homemade breakfast pastries right in your kitchen!
Table of Contents
Overview
This recipe guide focuses on creating five different types of breakfast pastries, each with its own unique flavor and charm. The preparation time for these treats ranges from 30 minutes to an hour, depending on the type of pastry you choose, while baking takes approximately 20-30 minutes. Don’t worry; despite sounding complicated, this process is surprisingly easy once you get the hang of it. Perfect for beginners and seasoned bakers alike, our guide ensures success with minimal effort.
What makes these recipes special? They combine classic techniques with modern twists, offering healthier options without compromising taste 6. Whether you’re looking for a quick fix or want to impress guests, these recipes cater to all preferences.
Essential Ingredients

Before diving into the specifics, let’s talk about what goes into making these delectable creations:
Key Components:
- High-Quality Flour : Forms the structure of your pastries. For best results, use bread flour when aiming for extra flakiness 4.
- Cold Butter : Essential for achieving those signature layers. Grating frozen butter into your mixture helps distribute fat evenly, ensuring lightness 7.
- Milk/Eggs : Adds richness and moisture. Substitute almond milk or coconut cream if lactose intolerant.
- Sugar : Sweetens naturally but consider reducing amounts based on dietary needs.
- Yeast (optional) : Used primarily in enriched doughs like croissants or danishes. Active dry yeast works well here.
For substitutions, think outside the box! Swap traditional sugar for honey or maple syrup for added depth. Use whole wheat flour instead of white for increased fiber content.
Step-by-Step Instructions
Here’s how you prepare the base dough for most of these pastries:
- Mix Dry Ingredients : Combine flour, sugar, salt, and any spices called for in your specific recipe.
- Cut In Butter : Incorporate cold butter either by grating it over the dry ingredients or using a pastry cutter until crumbly.
- Add Liquids Gradually : Pour in milk/egg mixture slowly while stirring gently to avoid overworking the dough.
- Knead Lightly : Form a ball and knead briefly before letting rest covered for at least half an hour in refrigerator 9.
- Laminate Process : Roll out chilled dough thinly, fold it into thirds repeatedly, and chill again after every two folds 5.
Each pastry might require slight adjustments during these steps, which will be detailed further below.
Assembly

Once your dough has been prepared and rested sufficiently, it’s time to assemble your masterpieces!
Tips for Presentation:
- Preheat oven according to recipe instructions.
- Shape neatly; cut edges clean for professional appearance.
- Brush tops lightly with egg wash for golden sheen.
- Experiment with decorative cuts or patterns before baking.
Remember, presentation matters almost as much as taste. A beautifully presented pastry not only looks appetizing but also enhances dining experience significantly.
Storage And Make-Ahead Tips
Proper storage keeps your hard work tasting fresh longer. Here’s how:
- Store cooled pastries in airtight containers at room temperature up to three days.
- Freeze unbaked portions wrapped tightly in plastic wrap followed by aluminum foil for extended shelf life.
- Reheat frozen items directly from freezer at lower temperatures initially then increase heat towards end of cycle.
Making ahead saves valuable time especially during busy mornings. Simply freeze shaped unbaked pieces ready whenever needed.
Recipe Variations
Feel free to experiment beyond basic recipes listed here. Consider adding fruits, nuts, chocolate chips, jams etc., inside fillings. Change up glazes such as caramel drizzles, powdered sugar mixes, citrus zest infusions. Each variation brings new excitement to familiar favorites.
Conclusion
There you have it—a comprehensive guide to crafting five delightful breakfast pastries right at home! With practice comes perfection, so don’t hesitate to tweak recipes until they suit your palate perfectly. Enjoy experimenting with flavors and textures, knowing each bite carries love straight from your heart to theirs.
FAQs
Q: Can I make these gluten-free? A: Yes, replace regular flour with certified gluten-free varieties. Results may vary slightly due to differences in protein structures 6.
Q: What health benefits do these pastries offer? A: Using whole grains, natural sweeteners, and quality fats increases nutritional value compared to commercial alternatives 6.
Q: How long do these last? A: Properly stored, they remain fresh for several days. Freezing extends usability indefinitely though quality diminishes over months 9.
Happy baking! Let us know how your creations turn out—we’d love hearing stories about your culinary adventures!

