

Are You Tired of Boring Lunches?
Table of Contents
What if you could turn your lunch break into something exciting—without spending hours in the kitchen?
Enter the Chicken Caesar Wrap—your new go-to meal that’s fresh, fast, and full of flavor.
In this post, we’ll show you how to make the perfect wrap in just 4 easy steps!
What Makes This Chicken Caesar Wrap Special?
This Chicken Caesar Wrap is:
- ✅ Ready in under 15 minutes
- ✅ Packed with protein and crunch
- ✅ Perfect for lunch, dinner, or meal prep
- ✅ Easy enough for beginners, tasty enough for pros
It combines the creamy richness of Caesar dressing with juicy grilled chicken and crisp romaine—all wrapped up in a soft tortilla. Best of all, it’s totally customizable.
Let’s dive in!
Essential Ingredients for Your Chicken Caesar Wrap
Here’s what you’ll need (with optional swaps):
Main Ingredients:
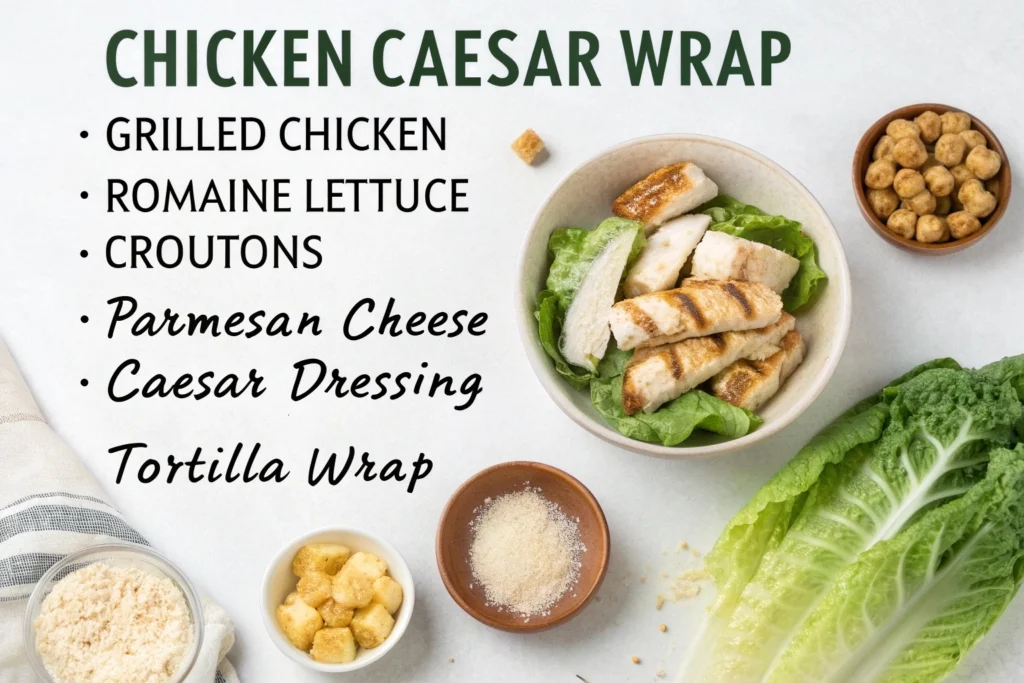
- Grilled Chicken Breast – Lean protein that keeps you full
- Romaine Lettuce – Adds crunch and fiber
- Caesar Dressing – Creamy base (use Greek yogurt for a lighter version)
- Tortilla Wrap – Whole wheat or low-carb options work great
- Parmesan Cheese – Adds salty, umami flavor
- Croutons – For extra texture (or try baked chickpeas!)
Optional Add-Ons:
- Avocado slices – Adds healthy fats
- Cherry tomatoes – For a sweet, juicy kick
- Red onion – A little goes a long way
- Bacon bits – For extra smoky flavor
Step-by-Step Instructions: How to Make It
Follow these 4 simple steps and enjoy your homemade Chicken Caesar Wrap!
Step 1: Cook the Chicken
What to do:
- Season a boneless, skinless chicken breast with salt, pepper, and olive oil.
- Grill, pan-sear, or bake until fully cooked (internal temp of 165°F).
- Let rest, then slice thinly.
Tip: Use pre-cooked rotisserie chicken to save time!
Step 2: Prep Your Veggies and Toppings
What to do:
- Wash and chop the romaine lettuce.
- Grate Parmesan cheese.
- Open croutons or prep any add-ons like avocado or tomato.
Pro Tip: Chop everything ahead of time for faster assembly later.
Step 3: Warm the Tortilla Wrap
What to do:
- Place the wrap on a plate and microwave for 10–15 seconds to soften.
- Alternatively, warm it on a skillet for a few seconds per side.
Why it matters: Warm wraps are more flexible and less likely to tear.
Step 4: Assemble Your Chicken Caesar Wrap
What to do:
- Lay the wrap flat on a clean surface.
- Spread Caesar dressing evenly across the center.
- Layer chicken slices, lettuce, Parmesan, and croutons.
- Fold sides in, then roll tightly from the bottom up.
Assembly Tip: Don’t overfill! Less is more when wrapping.
Assembly Tips: Roll Like a Pro
Want your wrap to hold together without leaking?
Follow These Tricks:
- Use a large wrap – Gives you room to layer ingredients without spillage.
- Spread dressing toward the center – Avoids soggy edges.
- Layer heavier items first – Like chicken and veggies, then lighter ones like lettuce.
- Roll tightly – Hold one end and roll slowly while tucking in the sides.
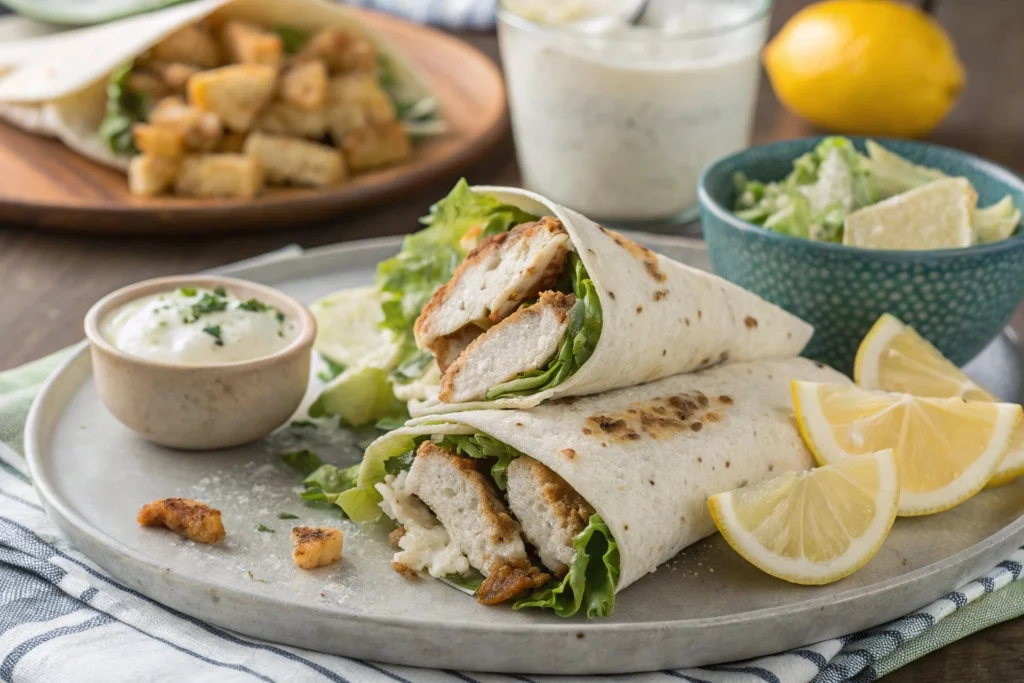
Presentation Idea: Cut the wrap in half diagonally and serve with a lemon wedge or side salad for a restaurant-style touch.
Storage & Make-Ahead Tips
You can prep parts of your Chicken Caesar Wrap ahead of time!
Store Components Separately:
- Chicken: Keep in an airtight container for up to 3 days.
- Veggies: Store washed and chopped in a sealed bag for 2–3 days.
- Dressing: Refrigerate for up to 1 week (store-bought or homemade).
Want to Meal Prep?
- Wrap individually and refrigerate for up to 1 day.
- Reheat in the oven or toaster oven for best results (microwaving may make it soggy).
Recipe Variations: Mix It Up!
Make this wrap your own with these fun twists:
Healthy Swap:
- Use Greek yogurt instead of Caesar dressing.
- Swap regular wraps for lettuce wraps or collard green wraps.
Veggie Lovers:
- Add spinach, cucumber, or bell peppers.
- Try grilled tofu or chickpeas instead of chicken.
Spicy Kick:
- Add hot sauce or diced jalapeños.
- Sprinkle with chili flakes for extra heat.
Cheesy Twist:
- Add mozzarella or feta cheese.
- Top with ranch dressing instead of Caesar.
Final Thoughts: Make It Yours!
The beauty of the Chicken Caesar Wrap is its simplicity and flexibility. Whether you’re a busy parent, a student on the go, or someone who loves quick, tasty meals—you can enjoy this recipe your way.
So grab your favorite ingredients, follow our 4 easy steps, and make your next lunch unforgettable.
And don’t forget—cooking is all about having fun and making it your own. So experiment, taste, and enjoy every bite!
Frequently Asked Questions (FAQs)
Q: Is the Chicken Caesar Wrap healthy?
A: Yes! It’s high in protein, packed with greens, and can be made even healthier with light dressing and whole grain wraps.
Q: Can I meal prep Chicken Caesar Wraps?
A: Absolutely! Prepare components separately and assemble when ready to eat for maximum freshness.
Q: How long does it take to make this wrap?
A: Just 15 minutes! Most of that is hands-off cooking time.
Q: Can I use other types of dressing?
A: Of course! Ranch, vinaigrette, or hummus are great alternatives.
Q: How do I store leftovers?
A: Keep ingredients separate in the fridge for up to 2 days. Wrap right before eating.
Q: Can I make this vegetarian?
A: Yes! Replace chicken with grilled tofu, tempeh, or chickpeas.
Ready to Try Your Own Chicken Caesar Wrap?
Now that you know how easy it is to make the perfect Chicken Caesar Wrap, there’s no reason not to give it a try. Whether you’re packing lunch for work, feeding the family, or craving a quick snack—it’s got you covered.
So fire up the grill, grab your wrap, and get rolling!
Happy cooking 🥗🍴!