
Introduction: Can a Portable Charcuterie Box Be Both Easy and Elegant?
Have you ever wondered how to create something Instagram-worthy yet practical for your next picnic, office lunch, or road trip? What if I told you that mastering the art of paper lunch box charcuterie is not only possible but also takes just one hour? That’s right—no fancy boards, no hours of prep. With a few simple ingredients, some creativity, and a trusty paper-lined lunch box, you can craft a stunning charcuterie masterpiece that wows everyone around you.
This guide will walk you through everything you need to know about making paper lunch box charcuterie, from choosing ingredients to assembling and storing it. Whether you’re a seasoned entertainer or a beginner looking to impress, this recipe is perfect for you!
Table of Contents
Overview: Why Paper Lunch Box Charcuterie Is Special
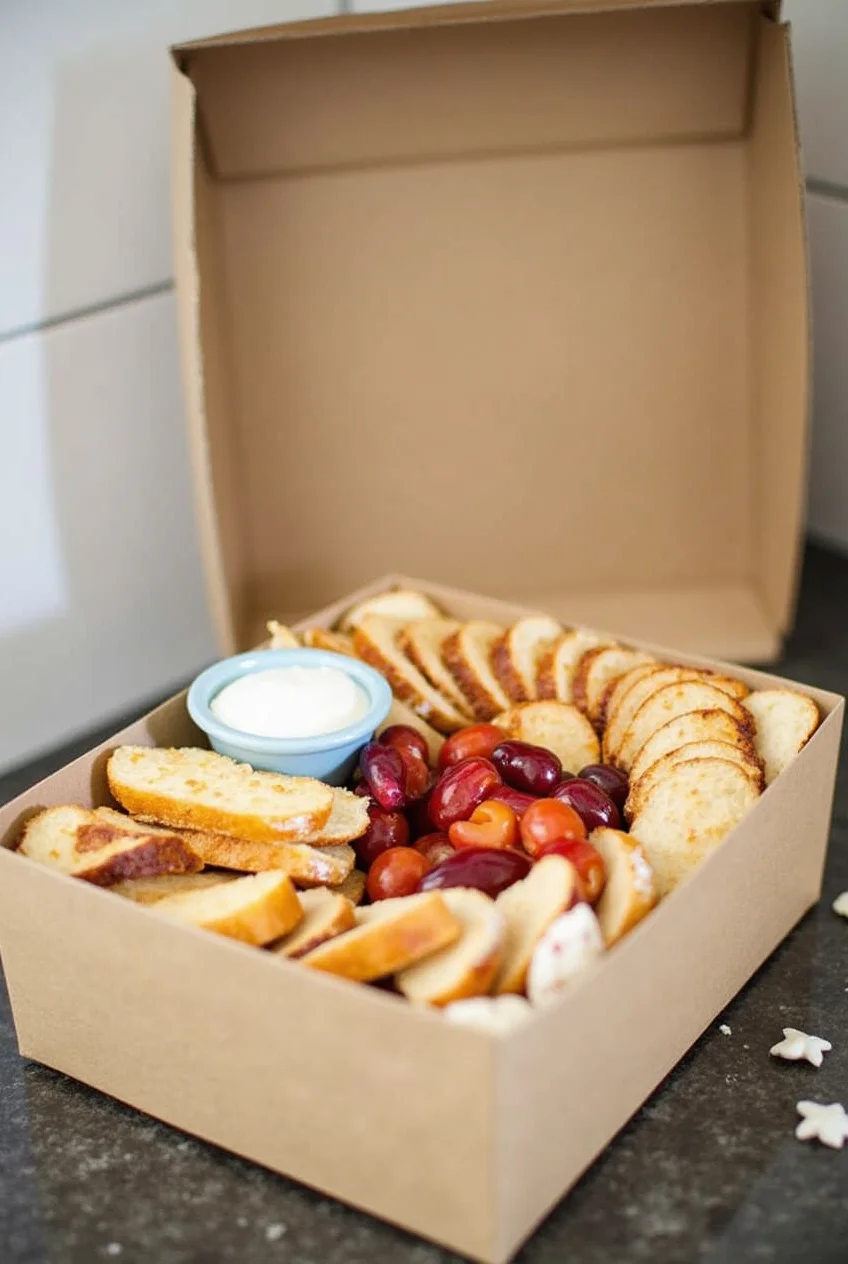
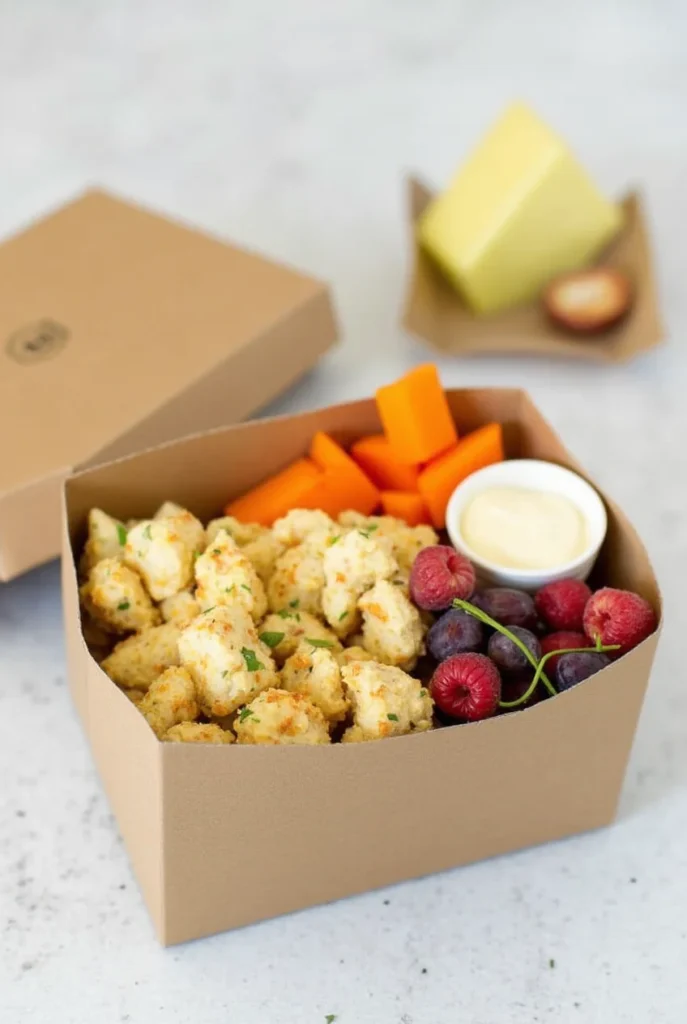
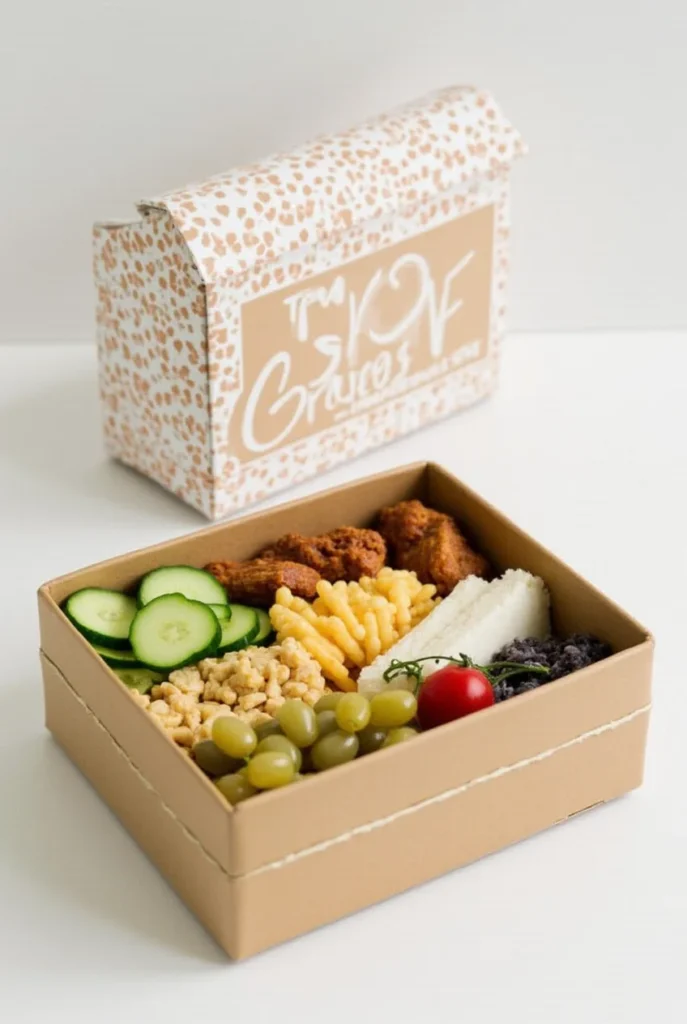
Paper lunch box charcuterie stands out because it combines convenience with charm. It’s portable, mess-free, and customizable—perfect for picnics, school lunches, parties, or even gifting. The best part? You don’t need any special equipment. Just grab a sturdy paper-lined lunch box (or brown butcher paper) and let’s get started 1.
- Time Requirement: 1 hour total (including prep and assembly).
- Difficulty Level: Beginner-friendly. No advanced skills required.
- Special Features: Quick, versatile, visually appealing, and crowd-pleasing.
Ready to dive in?
Essential Ingredients: Building Blocks of Your Charcuterie Creation
A great paper lunch box charcuterie starts with a mix of textures, flavors, and colors. Here are the key components:
- Cheeses
- Soft cheeses like brie or goat cheese add creaminess.
- Hard cheeses such as cheddar or gouda provide structure and bold flavor.
- Substitutions: Vegan cheese works beautifully for plant-based diets.
- Cured Meats
- Prosciutto, salami, and pepperoni are classic choices. Fold them into ribbons or roll them up for visual appeal.
- Substitutions: Turkey slices, ham, or even smoked tofu for vegetarians.
- Fruits
- Fresh fruits like grapes, berries, apple slices, or figs bring sweetness and color.
- Dried fruits such as apricots or cranberries add chewiness.
- Crackers and Bread
- Water crackers, baguette slices, or gluten-free alternatives work well. Arrange them neatly for easy grabbing.
- Nuts and Seeds
- Almonds, walnuts, or pumpkin seeds offer crunch and protein.
- Spreads and Dips
- Honey, mustard, hummus, or jam pair wonderfully with cheeses and meats. Use small containers to keep things tidy.
- Extras
- Olives, pickles, dark chocolate chunks, or pretzels for added variety.
Why These Ingredients Matter: Each category adds balance—savory, sweet, salty, and crunchy—to ensure every bite is satisfying. Plus, the variety makes it adaptable to different tastes and dietary needs.
Step-by-Step Instructions: Preparing Your Components
Before assembling, prepare each ingredient so everything looks polished and ready to go.
- Prep the Base
Line your lunch box with brown butcher paper or parchment paper. This creates a rustic backdrop while keeping cleanup easy 1. Secure the edges with tape if needed. - Slice and Dice
- Cut cheeses into bite-sized cubes or wedges.
- Slice fruits like apples thinly to prevent browning (sprinkle lemon juice if necessary).
- Roll cured meats into cones or fold them accordion-style.
- Portion Spreads
Divide spreads into mini jars or reusable sauce cups. Label them if you’re packing for kids or guests who may have allergies. - Organize Ingredients
Group similar items together on trays or plates for efficient assembly later.
Pro Tip: Prep all ingredients ahead of time to save stress during the final assembly phase.
Assembly: Bringing It All Together
Now comes the fun part—building your paper lunch box charcuterie! Follow these steps for a flawless presentation:
- Start with Staples
Place larger items like bread slices or cracker stacks first. They anchor the design. - Add Cheeses and Meats
Scatter cheese cubes and folded meats across the box. Alternate colors and shapes for visual interest. - Fill Gaps with Fruits and Nuts
Tuck fresh fruits and nuts into empty spaces. Berries look especially vibrant against the brown paper. - Incorporate Spreads
Nestle small jars of spreads near their ideal pairings—for example, honey near soft cheeses. - Finish with Garnishes
Sprinkle edible flowers, herbs, or extra nuts for flair.
Presentation Tips: Keep symmetry in mind, but don’t overthink it—it’s okay if it feels a little imperfect. The goal is to make it inviting and appetizing!
Storage and Make-Ahead Tips
One of the joys of paper lunch box charcuterie is its portability. Here’s how to store and preserve freshness:
- Short-Term Storage: Assembled boxes can sit at room temperature for up to two hours. Cover loosely with plastic wrap to protect from dust.
- Longer Storage: Store prepped ingredients separately in airtight containers in the fridge. Assemble within an hour of serving.
- Reheating: While most components are served cold, warm bread or crackers briefly in the oven before packing if desired.
For outdoor events, consider packing ice packs underneath to keep perishable items cool 9.
Recipe Variations: Get Creative!
Don’t be afraid to switch things up based on preferences or seasons:
- Seasonal Twist: Add pomegranate seeds in winter or peach slices in summer.
- Kid-Friendly Version: Swap spicy meats for turkey slices and include kid-approved snacks like goldfish crackers.
- Vegan Option: Replace dairy and meat with plant-based alternatives like cashew cheese and marinated mushrooms.
Experimenting keeps things exciting!
Conclusion: Ready to Create Your Own Paper Lunch Box Charcuterie?
With its quick prep time, endless customization options, and undeniable wow factor, paper lunch box charcuterie is a must-try for anyone who loves good food and great company. So why wait? Grab your ingredients, line that lunch box, and unleash your inner artist. Trust me—you’ll love the results!
FAQs About Paper Lunch Box Charcuterie
- Q: How far in advance can I assemble this?
A: For best quality, assemble within an hour of serving. However, individual components can be prepped days ahead. - Q: Is this recipe healthy?
A: Yes! By including fresh fruits, nuts, and lean proteins, you create a balanced snack packed with nutrients. - Q: Can I use regular napkins instead of butcher paper?
A: While napkins work in a pinch, butcher paper provides a sturdier base and enhances the aesthetic appeal 1. - Q: What if I’m feeding a large group?
A: Simply scale up the quantities and use multiple lunch boxes or larger trays lined with paper. - Q: Do I need special tools?
A: Nope! A sharp knife, cutting board, and a few small containers are all you need 5.
Happy crafting—and bon appétit!